Introduction
Many ClickHouse® workflows involve generating the same report at regular intervals, reviewing the results, and sharing them with the team. When this process is handled manually, it can take time and require repeated effort, especially for reports that need to be delivered consistently.
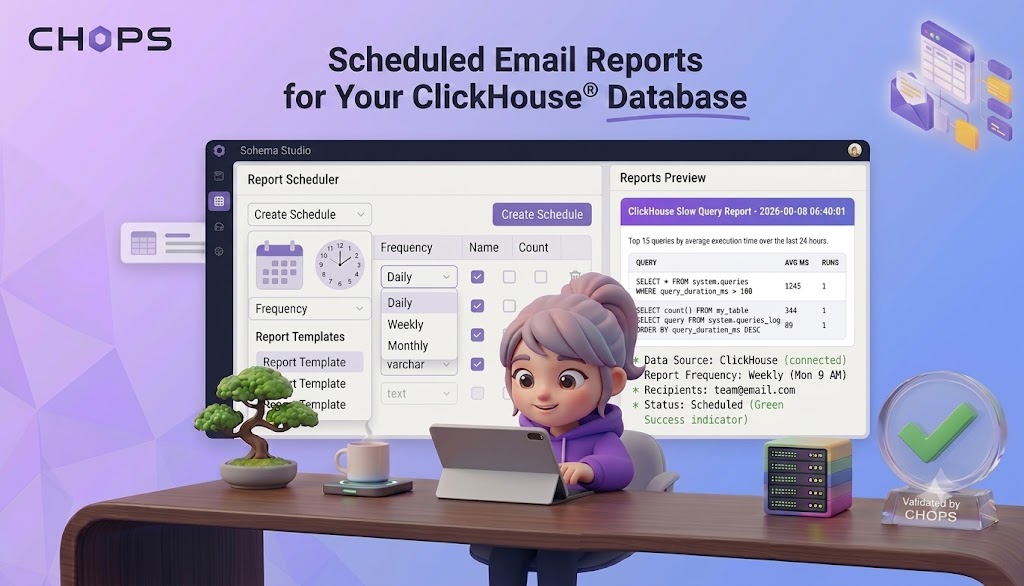
CH-Ops simplifies this process with Scheduled Email Reports, allowing you to automate report generation and delivery. Define the SQL query once, set when it should be executed, choose the email channel and recipients, and let CH-Ops deliver the results automatically.
In this article, we'll walk through how to set up and use Scheduled Email Reports in CH-Ops, from configuring the email channel to receiving the generated report.
What Is CH-Ops?
CH-Ops is a browser-based operations platform for ClickHouse® that provides a visual interface for managing and monitoring ClickHouse deployments.
Instead of relying entirely on the command line or HTTP API, CH-Ops brings common operational tasks into a single web application. It supports capabilities such as running SQL queries, monitoring cluster health, managing users, configuring backups and alerts, and working with dashboards and reports.
With Scheduled Email Reports, CH-Ops extends these capabilities to recurring reporting workflows, allowing query results to be delivered automatically to specified email recipients.
Why Use Scheduled Email Reports in CH-Ops?
Reports generated at regular intervals often require the same query to be executed repeatedly. Manually running the query, reviewing the results, and sending them to the appropriate people adds repetitive work to an otherwise straightforward process.
Scheduled Email Reports automate these steps.
With CH-Ops, you can:
- Define the SQL query once.
- Validate the query before scheduling it.
- Specify when the query should run.
- Select an email notification channel.
- Configure recipients and the email subject.
- Execute the report against a selected ClickHouse cluster.
- Receive the query results automatically by email.
This is useful for recurring operational reports such as query-performance summaries, usage reports, or other ClickHouse metrics that teams need to review regularly.
How Scheduled Email Reports Work
The Scheduled Email Reports workflow in CH-Ops follows a simple process:
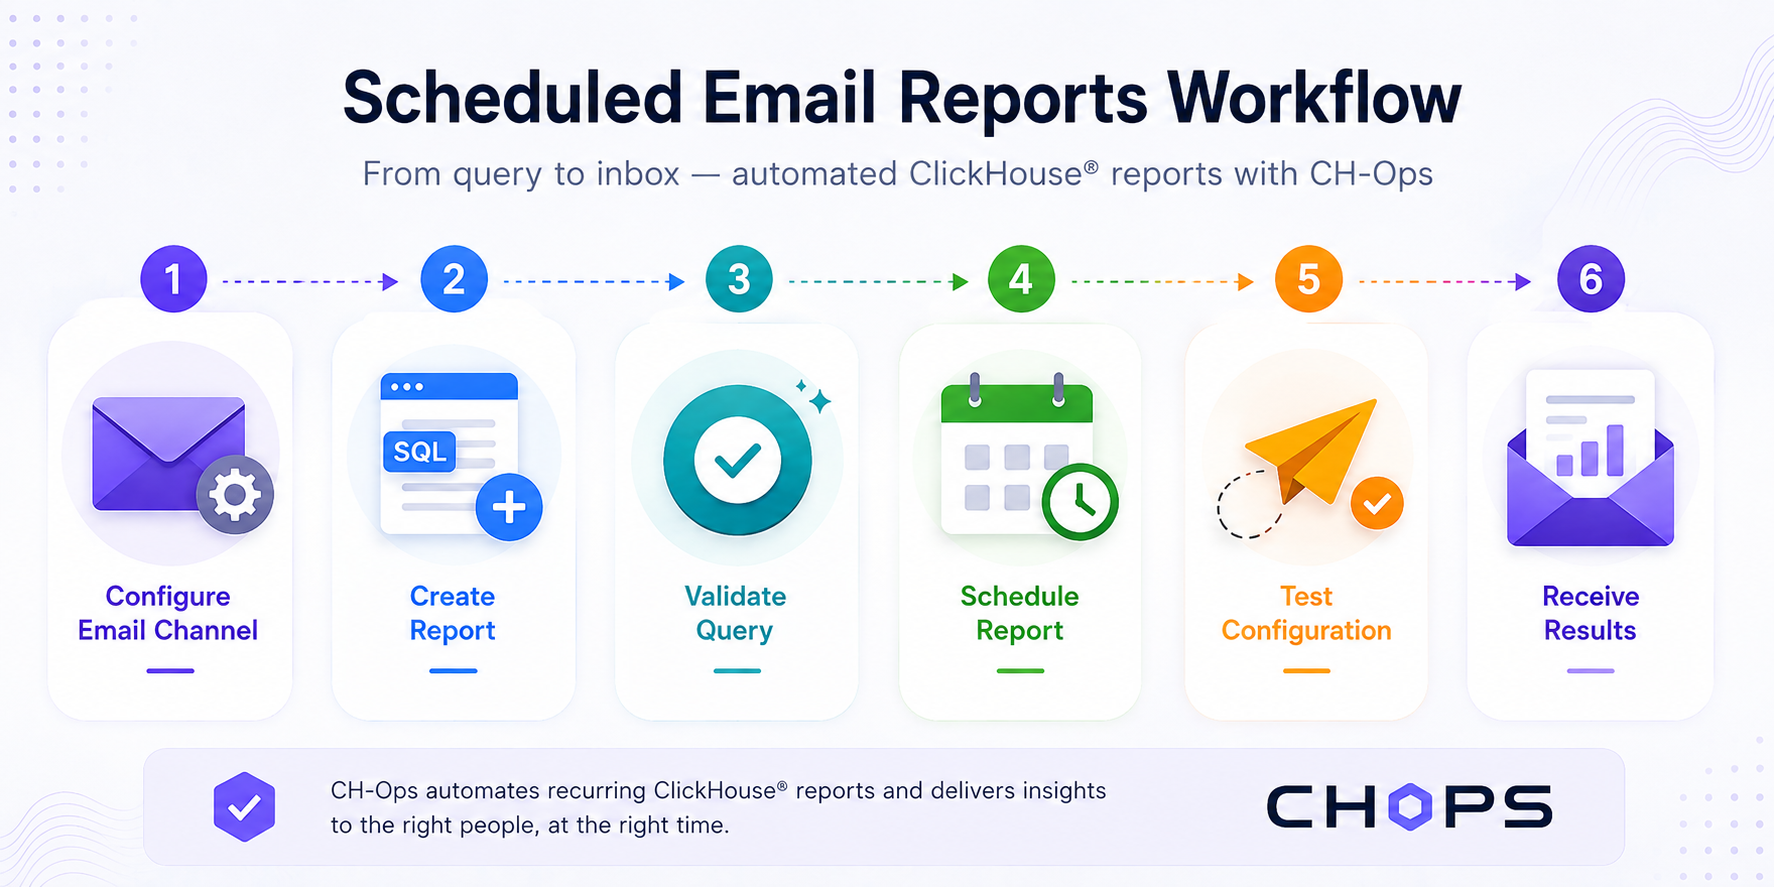
First, configure an email notification channel with the required SMTP settings. Next, create and configure the report with its SQL query, schedule, email details, and ClickHouse cluster. CH-Ops then lets you validate the query, test the configuration, and receive the results by email.
Let's walk through the process.
Step 1: Configure an Email Notification Channel
Before creating a Scheduled Email Report, configure an email notification channel. CH-Ops uses this channel to connect to your SMTP server and deliver the generated reports by email.
First, open:
Custom Alerts → Scheduled Reports
If no email channel has been configured, CH-Ops displays a message prompting you to create one.
 Scheduled Email Reports page showing that an email channel must be configured first.
To configure the channel, go to:
Control Panel → Notification Channels
Create a new notification channel and select Email (SMTP) as the channel type.
Enter the SMTP details required by your email provider:
- Name - A name used to identify the email channel.
- SMTP Host - The hostname of the SMTP server.
- SMTP Port - The port used by the SMTP server.
- SMTP User - The SMTP account used for authentication.
- SMTP Password - The password for the SMTP account.
- From - The email address used as the sender.
- To - The recipient address or addresses for the channel.
For this walkthrough, the email channel is named Testing-channel.
 Creating an Email (SMTP) notification channel in CH-Ops.
After entering the required details, click Create. Once the channel is created successfully, it becomes available for selection when you configure a Scheduled Email Report.
Note: Use the SMTP settings provided by your email service or organization, and keep SMTP credentials secure.
Step 2: Create and Configure a Scheduled Email Report
After configuring the email channel, navigate to:
Custom Alerts → Scheduled Reports
If no reports have been created yet, the Scheduled Email Reports page displays an empty state with the New Report button.
 Scheduled Email Reports page before creating a report.
Click New Report to open the report configuration form.
The New Report form brings the complete report configuration into one place. It includes the report details, SQL query, schedule, email delivery settings, ClickHouse cluster, and enabled status.
 New Report form for configuring a Scheduled Email Report.
Configure the Report Details
In the New Report form, configure the following fields:
- Report Name - Enter a descriptive name for the report, such as ClickHouse Slow Query Report.
- Description - Add a brief description of the report. This description is included in the generated email. For example: Top 15 queries by average execution time over the last 24 hours.
- SQL Query - Enter the ClickHouse query to execute when the report runs. In this example, the query uses
system.query_logto summarize query performance, including average execution time and number of executions. Aggregated results are generally preferable for scheduled reports. - Cron Schedule - Define when the report should run using a cron expression. For example,
0 8 * * *runs the report every day at 8:00 AM. - Email Channel (SMTP) - Select the email channel configured in Step 1, such as Testing-channel.
- Recipient Email(s) - Enter the email address or addresses that should receive the report.
- Custom Subject - Customize the email subject using placeholders such as
{name}and{date}. For example,{name} - {date}includes the report name and execution date in the subject. - Cluster - Select the ClickHouse cluster where the report query should execute, such as Default cluster.
- Enabled - Keep the option enabled to allow CH-Ops to execute and send the report according to the configured schedule.
Step 3: Validate the SQL Query
Before creating the report, click Validate SQL to check the query and preview its results.
CH-Ops displays a validation message along with a preview of the returned data, including the number of rows and columns and sample fields such as query, avg_ms, and runs.
In this example, the interface shows:
Query valid. Preview: 5 rows, 3 columns.
 SQL Validation Preview showing the results returned by the report query.
Review the preview to confirm that the query returns the expected data, then close the preview and click Create Report.
Step 4: View and Test the Scheduled Report
After the report is created, it appears on the Scheduled Email Reports page.
The report card provides a quick overview of the configured report, including its:
- Report name
- Description
- Schedule
- Email channel
- Recipient
- Enabled status
- Run status
 Created Scheduled Email Report displayed in CH-Ops.
The report card provides actions such as Edit, Send Test, Enable/Disable, and Delete.
Test the Report
Before waiting for the scheduled execution, use Send Test to verify the report configuration and email delivery.
A test run helps confirm that:
- The SQL query executes successfully.
- The expected results are generated.
- The configured email channel is working.
- The report is delivered to the intended recipient.
This provides a quick way to verify the complete configuration before relying on the scheduled execution.
Step 5: Receive the Report by Email
Once the report runs, CH-Ops sends the generated results to the configured recipients.
The generated email contains the report information along with the results returned by the SQL query.
 Scheduled ClickHouse report delivered to the configured email recipient.
The email includes several useful sections.
Report Information
The email header displays the report name and execution timestamp.
For example:
ClickHouse Slow Query Report
along with the time at which the report was generated.
Report Details
The generated email presents the report information and query results in a structured format.
Query Results
The SQL query results are presented in a structured table.
For the example slow-query report, the results include:
- query - The executed query text.
- avg_ms - Average query execution time.
- runs - Number of executions.
This allows recipients to review the recurring report directly from their inbox without manually opening CH-Ops and running the query each time.
Managing Scheduled Email Reports
After creation, reports can be managed from the Scheduled Email Reports page. CH-Ops allows you to edit, enable or disable, send a test, or delete a report.
Use Cases for Scheduled Email Reports
Scheduled Email Reports can simplify a variety of recurring ClickHouse reporting tasks, including:
- Query Performance Reports - Monitor slow, frequently executed, or resource-intensive queries.
- Daily Operational Reports - Receive daily summaries of ClickHouse activity, system metrics, or other operational data.
- Usage Reports - Track recurring usage trends and other operational information.
- Team Reports - Automatically share recurring query results with relevant teams and stakeholders.
With customizable SQL queries, schedules, and email recipients, CH-Ops makes it easy to automate recurring reports for different operational needs.
Conclusion
Scheduled Email Reports in CH-Ops provide a simple way to automate recurring ClickHouse® reporting. Instead of manually running the same queries and sharing their results, you can configure a report once and let CH-Ops handle its scheduled execution and email delivery.
The workflow brings everything together in a single process:
Configure Email → Configure Report → Validate SQL → Create & Test → Receive Report
With customizable queries, schedules, email recipients, and ClickHouse clusters, CH-Ops helps teams reduce repetitive reporting work and receive timely ClickHouse insights directly in their inbox.
Explore CH-Ops
Want to learn more about CH-Ops and explore its features? Visit the official website and explore the resources below: