What is CH-Ops
CH-Ops is a browser-based operations platform built for managing ClickHouse® deployments. Instead of relying entirely on the command line or HTTP APIs, it provides a unified interface for executing SQL queries, monitoring clusters, managing users, backups, alerts, dashboards, and much more - all from a single web application.
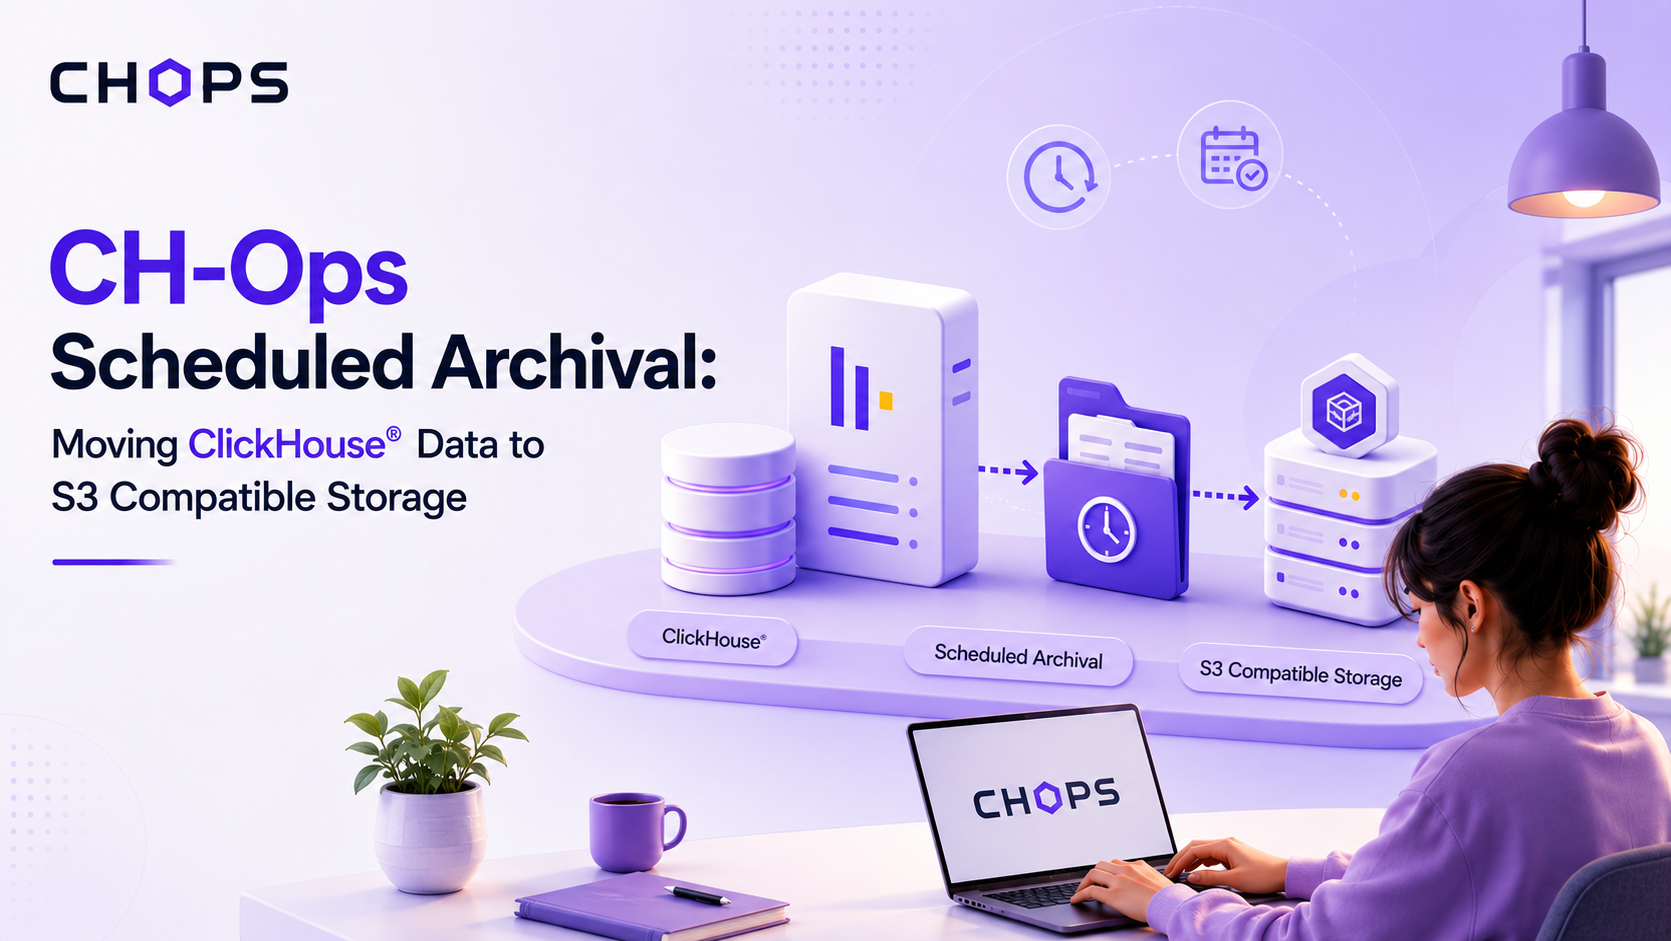
One of its features under Backups is Scheduled Archival, which moves aging data to S3-compatible storage on a schedule instead of letting it grow indefinitely inside the cluster.
Let's explore how Scheduled Archival works and how you can use it to automate ClickHouse data archival.
Introducing the CH-Ops Scheduled Archival
A ClickHouse® cluster tends to grow in one direction: up. Old rows rarely get deleted, and most of them are barely queried once they age past a certain point.
Scheduled Archival, under the Backups section in CH-Ops, gives you a way to move that cold data out to S3-compatible storage on a schedule, in a columnar format, without writing your own export scripts.
It allows you to create jobs that periodically archive data from ClickHouse to configured S3-compatible storage. A job runs a plain SELECT query against your cluster on a schedule, writes the result to S3-compatible storage, and (depending on the mode you choose) keeps track of what it has already archived so the next run only picks up new rows. You write the query once. CH-Ops handles the window, the file format, the compression, and the schedule around it.
Three tabs organize the feature:
| Tab | What it's for |
|---|---|
| Jobs | Create, run, pause, and monitor archival jobs |
| Restore | Bring an archived snapshot back into a ClickHouse table |
| Archive Explorer | Browse the folder structure of what has actually been written to storage |
 The Scheduled Archival landing page, showing all three tabs.
Creation of an Archival Job
Start by creating a new job from Scheduled Archival → New Job.
Give the job a name and provide a normal SELECT query describing the data you want to archive.
For example:
SELECT *
FROM uk.uk_price_paid
The archival window is handled automatically by the engine, so the query itself does not need to contain a time filter for an incremental job. Before creating the job, you can use Test (describe) to inspect the query and its columns.
 Creating a new job by naming it and providing a plain SELECT query.
Choose How Data Should Be Archived
The Mode determines how each archival run handles the data.
The Mode dropdown gives you two options:
- Incremental (windowed): archives only new rows each run, tracked with a watermark column.
- Full snapshot: exports the entire result of the query every run.
Incremental is the one you will use for anything that grows over time, like an events or transactions table. Full snapshot suits smaller, slowly changing tables where re-exporting everything each time is cheap enough not to matter.
 Choosing between Incremental (windowed) and Full snapshot modes.
Configure the Watermark Column
For incremental archival, CH-Ops uses a watermark column to determine what data should be included in each window.
- The interface allows you to pick a column that increases on both
INSERTandUPDATE, something likeupdated_at. The archival engine uses this value to track progress between runs. - If your only candidate is a
Stringcolumn, CH-Ops warns you first, because ClickHouse compares strings byte-wise, which only matches logical order under specific conditions.
 Selecting a watermark column, with a String column warning.
Starting Point and File Partitioning
The Start from value determines where the first archival window begins. The initial run can catch up on the historical data from the selected starting point, while subsequent runs continue from where the previous run stopped.
This is particularly useful when setting up archival for an existing dataset rather than starting from newly inserted records.
An optional partition expression, like toDate(created), drives a third folder level in storage, so archived files land in date-based (or otherwise expression-based) folders instead of one flat run. Leave it blank and you get a single folder per run instead. A Check button lets you validate the expression before saving the job.
 Setting the starting point and partition expression.
Choose the Storage Format
CH-Ops lets you select the format used for archived files.
The available formats shown in the interface include:
| Setting | Options |
|---|---|
| Format | Parquet, ORC, Avro |
| Codec | zstd, snappy, gzip, lz4, brotli, none |
| Max rows per file | Specify the maximum number of rows that should be written to each archive file, for example 5,000,000 |
| Insert threads | Configure the number of threads used during the archival operation. 1 for an exact split, more for faster but approximate splitting |
This gives you control over the balance between storage size and processing requirements.
Parquet with zstd is a reasonable default: columnar, well compressed, and widely readable by downstream tools.
 Choosing storage format, codec, and row limits.
Where the Job Runs, and Where It Writes To
Run on node decides which cluster node executes the job every time, defaulting to whichever node is selected in the navbar. The Test and partition check also run on this node, so the columns you see while configuring the job match what the scheduled run will actually use.
The Storage Profile determines where the archived files are stored.
In the example configuration, the job uses an S3 storage [mvp-poc] profile.
Once the storage profile is selected, CH-Ops can write the generated archival files to the configured object storage location. This separates long-term archived data from the primary ClickHouse storage while keeping the data available for later exploration or restoration.
 Selecting the run node and S3 storage profile.
Scheduling and Getting Notified
The schedule is entered as a standard cron expression, evaluated in UTC, not server local time, so it lines up with the archival window, which itself seals at start of day UTC. Something like 0 * * * * runs hourly.
Notification channels reuse whatever alert channels you have already configured, like Google Chat or email, with an option to notify on failure only, so you are not paged for every successful run.
 Setting the cron schedule and notification channels.
Defining the Restore Shape Upfront
Before you save the job, you also define the shape a restored table will take: an engine (MergeTree is the default), the ORDER BY columns, and an optional PARTITION BY. This is used to build the CREATE TABLE statement automatically when you restore later, and the column list comes from the Test step, so it is worth running Test with your final query before finishing this section.
Once everything is filled in, Create saves and enables the job.
 Defining the restore table's engine and ORDER BY.
Managing a Job After It's Created
Each job appears as a card showing its name, mode (windowed or full snapshot), the underlying query, schedule, format and codec, target node, watermark column, and status. From there you can:
- Run it immediately, outside its schedule.
- Pause it without deleting it.
- Resume it if needed again.
- History, to see past runs.
- Backfill, to catch up a range that was missed or never covered.
- Edit or Delete the job entirely.
 A created job with run, pause, and edit controls.
A Complete Archival Example
| Setting | Value |
|---|---|
| Name | testing1 |
| Node | replica2 (10.X.X.X.X) |
| Query | SELECT * FROM uk.uk_price_paid |
| Mode | Incremental |
| Watermark | created_at (DateTime) |
| Start from | 01/01/2026 12:42 |
| Storage profile | s3 |
| Format / Codec | Parquet / zstd |
| Max rows per file | 5,000,000 |
| Schedule | 0 * * * * (02:00 UTC daily) |
| Notifications | #Testing-channel, on failure only |
The first run archives everything from January 2026 up to the start of the current day, which might be a few hundred million rows in one large snapshot. Every run after that picks up one day.
Restore Archived Data
Archiving is only useful if the data can be retrieved when needed.
The Restore tab allows you to select an archival job and choose a snapshot to restore.
You can specify:
- Destination database
- Destination table
- Optional On cluster
CH-Ops can also build the required DDL for the restored table using Build DDL. This provides a straightforward path from archived files back into ClickHouse.
 Setting the restore destination and building DDL.
Explore Archived Files
The Archive Explorer provides a visual view of the archived data stored in the configured storage location.
Instead of navigating through object-storage paths manually, you can browse the available archive folders directly from CH-Ops.
The interface identifies archives based on the configured job and storage format, making it easier to locate archived datasets.
 Browsing archived jobs in Archive Explorer.
 A single archival run with row and file counts.
A Simple End-to-End Flow
 A Complete WorkFlow.
Why This Is Worth Setting Up
Manually exporting cold data to S3 usually means a cron job somewhere, a script that tracks its own watermark, and a separate process for restoring anything back.
CH-Ops Scheduled Archival brings these steps into a single workflow. With incremental and full-snapshot modes, configurable storage formats and compression, scheduled execution, notifications, restoration, and archive exploration, it provides a practical way to manage long-term ClickHouse data in S3-compatible storage.